Set up Namecheap.com DDNS in Synology DSM
Today’s article is about how to update DNS entries for domains from Namecheap.com via the Synology DSM function DDNS (Dynamic DNS). Since Namecheap.com is neither available as a provider in Synology DSM, nor do the formerly common intermediary services work, this is only possible with a small workaround. And this is exactly what I would like to show you today.
You need the following things for today’s tutorial:
A domain at Namecheap.comA Synology NAS (or a custom NAS with XPEnology)A webserver with PHP support
In the next paragraph we will outline the actual problem again in detail. If you are only interested in the solution, you can skip the following paragraph…
What is the problem with Synology DSN and Namecheap?
Namecheap provides a url/web service that you can call to set a DNS […]
 Today’s post is intended to give a brief introduction to the topic of AJAX with jQuery, as well as to cover the topic of cross domain (policy) and to show how you can use small tricks to send AJAX requests across multiple domains. Before we start, however, we will give you a quick introduction to the topic. If you are already familiar with the topic and are only interested in the AJAX cross-domain workaround, you can safely skip the first part of the article.
 In this article we want to deal with the topic of steganography and implement a small example in PHP. Because PHP is not “only” used to create web pages or to implement forms, as any experienced PHP programmer of larger web agencies will surely confirm.
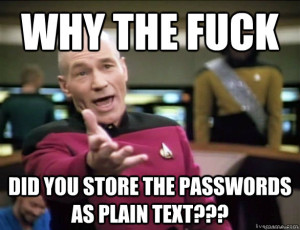 Anyone who develops software and especially if he/she does so in the web environment, has certainly already written one or the other login system or at least had points of contact in this area. Besides the logic of a secure login or user management system, the secure storage of passwords is one of the most important points during implementation.