 Today we’ll be talking about installing the webmail client Roundcube on your website or web server. However, before we begin I’d like to say a few words about why a webmail client is a good idea in the first place and why I decided to use Roundcube. If you’re just interested in the installation procedure, you can skip directly to the next paragraph (“Basic requirements”).
Why install a webmail client? I can answer that question only for me and my specific case. I have several email addresses – one is a Gmail address and the others are addresses for my websites and blogs that all have the format @website-name.net.
So when I want to see my emails, I don’t want to open five different websites and three programs. I’d like for everything to be in one place. Gmail offers the integration of different email addresses to one account, but it only allows it through POP3. Since I didn’t want to sacrifice IMAP functionality – otherwise the emails would have gone to Gmail and not my smartphone – that was not an option.
Until now I used Thunderbird Portable that I had on my flash drive for this. That way, I could see emails from every account wherever I was while only having to start one program. That solution is still not perfect though, since you could easily forget your flash drive, or you could find yourself without PC access or with access to a PC that blocks USB devices or IMAP ports. The solution? A web-based email client. You don’t need anything other than a browser and you can read emails from multiple email accounts in the same client. That is what Roundcube is and what it offers, and that’s why I’m offering a small installation and configuration guide for it.
Basic requirements
To install Roundcube, all you really need is a web server with PHP support and a database. I have an Apache-MySQL combo on my server here, but it could also run on a different setup, like, for example, a PostgreSQL database and a different web server like lighttpd.
- Web server with PHP support (version >= 5.2.1)
- (e.g. Apache, Lighttpd, Cherokee, Hiawatha)
- Database (or database server)
- (e.g. MySQL or PostgreSQL)
Downloading packages and setting up the web server
First we’ll need a directory in the web server’s root folder for the Roundcube installation. The default root folder for Apache is /var/www. Afterwards we can go into the newly created folder and download the newest version of Roundcube via wget.
mkdir /var/www/roundcube
cd /var/www/roundcube
wget http://sourceforge.net/projects/roundcubemail/files/roundcubemail/1.0.3/roundcubemail-1.0.3.tar.gz/download
At the time of writing, the newest stable version of Roundcube is 1.0.3. Maybe there’s a new version released and the article isn’t updated right away. Therefore it’s worth taking a look at Roundcube’s download page to check which version is the latest.
Once the download is complete, the Roundcube package has to be extracted. That can be done using the tar command.
tar xvf roundcubemail-1.0.3.tar.gz
cd roundcubemail-1.0.3
mv {.,}* ..
cd ..
rmdir roundcubemail-1.0.3
The next step would be to create a configuration file in order to set up a virtual host. This step is Apache-specific. If you’re installing Roundcube on a different web server, the process will be similar but implementation-specific. In this case I called the config file “webmail”.
cd /etc/apache2/sites-available
nano webmail
Now we enter the following text in the nano text editor:
<VirtualHost *:80>
  ServerAdmin webmaster@mydomain.de
  DocumentRoot /var/www/roundcube
  ServerName webmail.mydomain.de
  ErrorLog /var/log/apache2/webmail.mydomain.de-error_log
  CustomLog /var/log/apache2/webmail.mydomain.de-access_log common
</VirtualHost>
Afterwards we save and close the file by pressing Ctrl+X. The next step will be to activate the virtual host configuration and have the Apache server load it.
a2ensite webmail
service apache2 reload
Creating and configuring the database
Now we need to create the database that Roundcube will use, create a user and grant him necessary privileges.
mysql -u root -p

mysql> CREATE DATABASE IF NOT EXISTS roundcube;
mysql> GRANT ALL PRIVILEGES ON roundcube.* TO roundcube@localhost IDENTIFIED BY 'my_password';
mysql> FLUSH PRIVILEGES;
mysql> quit
Of course you’ll need to replace “my_password” with the actual password you want to use for your database. The command “FLUSH PRIVILEGES” is also very important – it makes the privilege changes take effect immediately. Now the database is set up, but we still have to “breathe life” into it – we need to import data from the .sql file packaged with the Roundcube installation.
mysql -u roundcube -p"my_password" roundcube < /var/www/roundcube/SQL/mysql.initial.sql
The only thing we have to do now before we begin the actual installation is to specify the database information in the Roundcube config file.
cd /var/www/roundcube/config
nano config.inc.php
Inside the file we have to replace the example string with one that contains our actual connection information.
//Replace mysql with mysqli, "pass" with "my_password"
//and roundcubemail with "roundcube" in this line
$rcmail_config['db_dsnw'] = 'mysql://roundcube:pass@localhost/roundcubemail';

//The final result should look like this:
$rcmail_config['db_dsnw'] = 'mysqli://roundcube:my_password@localhost/roundcube
Now we can save and close the file by pressing Ctrl+X.
Web installation and basic configuration
We’re close to the end of the tutorial now. The next step is to start Roundcube’s web installer. Now that we’ve set up our virtual host, the web installer can be found at the following address:
http://webmail.mydomain.de/installer
Follow the steps provided by the web installer and finish up the setup. Remember – once it has been completed, the installer folder has to be removed in order to prevent any potential attacks.
rm -rf /var/www/roundcube/installer
Finally, we need to tweak Roundcube’s main config file.
cd /var/www/roundcube/config
nano config.inc.php
Inside the config we need to make the following changes.
//change enable_installer from 'true' to 'false'
$config['enable_installer'] = false;

//Activate TLS
$config['default_host'] = 'tls://mail.%s';

//Set the outgoing server same then incoming
$config['smtp_server'] = 'tls://%h';
$config['smtp_port'] = 587;
$config['smtp_user'] = '%u';
$config['smtp_pass'] = '%p';

//Set up title-text
$config['product_name'] = 'Mein Webmail Client';
Now save and close by pressing Ctrl+X, and that’s it.
Logging in and reading emails
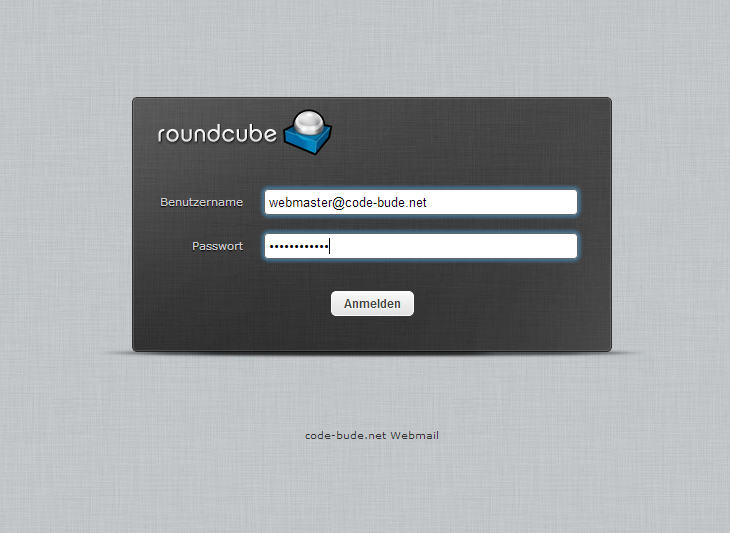
I’ll just show the login screen once more. The webmail client can be accessed at http://webmail.mydomain.de. Now, if I want to access the emails on webmaster@code-bude.net, I can enter the email address as the login and my actual email password as the password.
As per the config setting ($config[‘default_host’] = ‘tls://mail.%s’;) Roundcube uses tls://mail.code-bude.net as the mail server, since %s in that string is replaced with the domain name (the part of the address after the @). 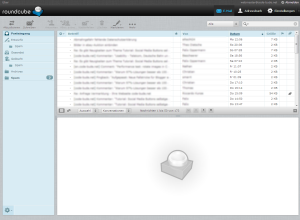
That way I can log in with different email addresses (@code-bude.net, @derwirtschaftsinformatiker.de, etc.) without having to explicitly specify the mail server every time.
Finally, a click of the “Log in” button opens up the interface that allows you to receive, read and write emails just like in any other webmail client.