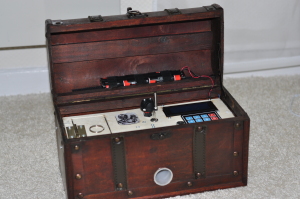
Today we’ll be talking about Captain Herrmano’s Mystery Box, a piece of hardware that I built over a year ago. But what is this box, what does it do, who was it built for and who is this Captain Herrmano anyway? This will be the topic of this article.
What is Captain Herrmano’s Mystery Box?
The box is a so-called “reverse geocaching puzzle”. The inspiration for this project was a reverse geocaching box built in 2009 by Mikael Hart. Unlike Mikael’s version of the box, it’s not enough to simply find and visit the target place. To unlock the treasure of Captain Herrmano, the player has to solve more tasks.
The special thing about this box is that it interacts with the player, and not just via text – it also has sound and light feedback, as well as other means of communication. But more about that later.
So who is this captain anyway? Captain Herrmano is an old pirate, whose spirit guards the chest and guides the player through the challenges. The chest, in turn, contains the pirate’s treasure.
A Birthday Present with Consequences
I came up with the idea for the box, developed it and built it all as a birthday present. I wanted to gift something extraordinary, and since I always find the anticipation and the unboxing the most fun moments, I decided to make the unboxing process take a little longer than usual.
The player only receives the present after they have solved all of the Captain’s riddles.
A Solution and Overview of the Riddles
Since the birthday has passed and the recipient has had his share of fun already, I can freely write the article here. To give you an overview of the capabilities and features of the box, I’ve made this small video that shows a complete walkthrough of all the riddles.
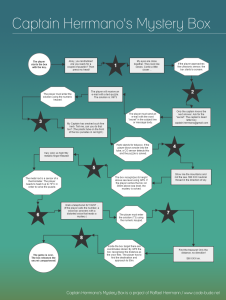
If you are too confused by the video, you can have a look at this game plan that shows the path to the treasure as a picture.
How many hours of gameplay the game has depends on how quickly the player solves the riddles. Theoretically, you could finish it within 1-2 hours. In practice, the recipient spent a good weekend playing it.
Technical implementation
Since building the box cost me time and nerves and I was under time pressure, I forgot to write down any documentation for all the stuff that I was doing. When I have more time I’ll try to make a small technical write up and describe the technical implementation more precisely. I’ll limit myself to short descriptions for now.
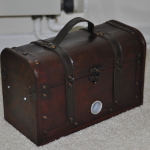
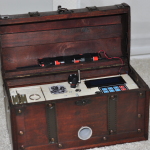
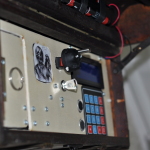
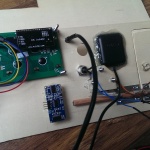
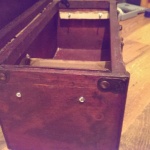
The housing – that is, the box itself – came from a Nanu Nana store (which is a German chain of stores). Inside of the housing, an Arduino Mega controls and receives information from different sensors and boards – for example a CO sensor (carbon monoxide), a thermometer, an ultrasonic sensor, a GPS receiver, a number pad, a speaker, a display, a mini SD card and a servo.
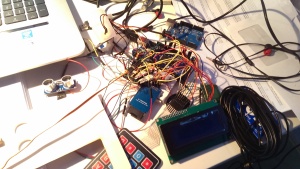
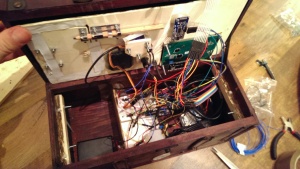
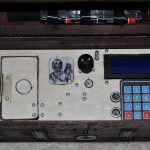
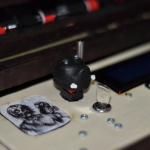
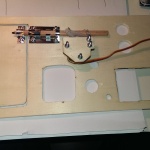
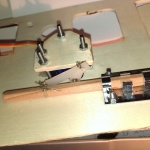
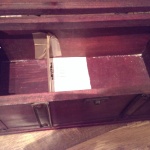
Also because of the time pressure and the fact that this was a one-off thing, I have done nearly none cable management, so I ended up with cable tangle. The following photos should serve as proof.
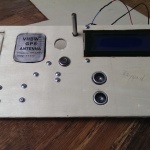
I made the interface (that is, the chipboard with the buttons and sensors) on my own with the help of a rotary tool (Dremel) and sandpaper.
The locking mechanism should serve as a further highlight of how unprofessionally creative the design is. It’s made of hinges, parts of a door latch, a servo, wire and half a pencil. This perfect child of passion and engineering is demonstrated in this short video.
You can find the Arduino code in my Github repository. A wiring schematic and further technical details will possibly be published in a later article.
Conclusion and Feedback
Now I’d like to know what you think of this present – I can think of a whole bunch of questions.
Do you think this is successful or do you have improvement ideas? (If I make something like this again I’ll definitely include your ideas, as long as they’re qualified.) Have you built something like this yourself or do you know someone who has? If so, I’d be glad to see some photos. I’m always curious to know how others solved similar “problems”. And finally, are you interested in further technical details or schematics?
It’s your turn now. I’m always happy to hear from you!




Can you tell me how to connect the head button so the code will continue after pushing the head?
Thank you,
Your project is very interesting and I try to reproduce it but something I do is wrong since it’s stop after the intro.
I push the button (head) but nothing happen. I guess the connection of it is not right.
I connect one lead to arduino pin 44 and the other lead to 10k resistor to ground.
Also, everything is powered by 5V of Arduino.
Can you help me, please?
Thank you,
First off, this is awesome! How did you set up the phone number with the recorded message?
Hi xarimus,
I used a free voice mailbox service. Got a local voip number from them, set it to “activate mailbox after first ring“ and uploaded a mp3 with the voice message. I used: http://www.ventengo-cospace.de/cospace/online-mailbox.html
Where can it be bought?
How expensive were the materials together?