 For one of my projects I was looking for a router that runs OpenWrt. But the all time classic of these type of routers, the Lynksys WRT54GL, is definitely too expensive in my opinion and so I searched a for a cheaper alternative. And I found it.
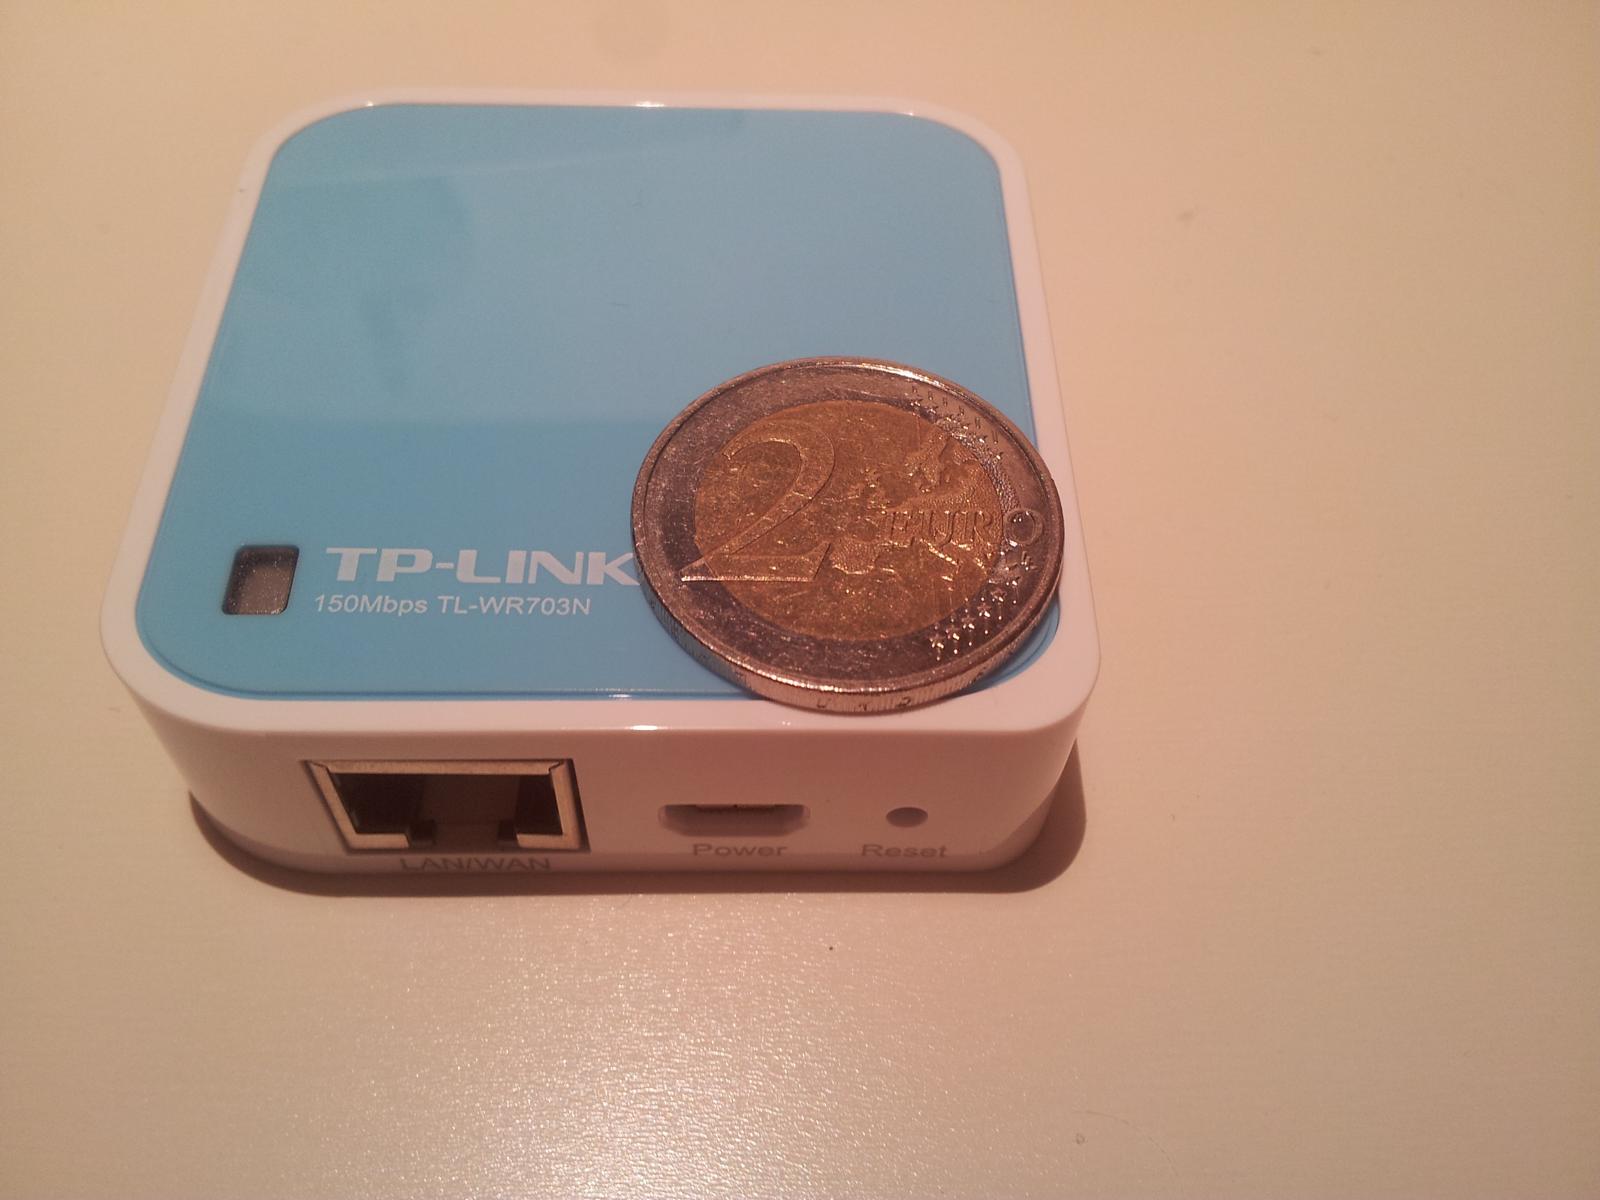
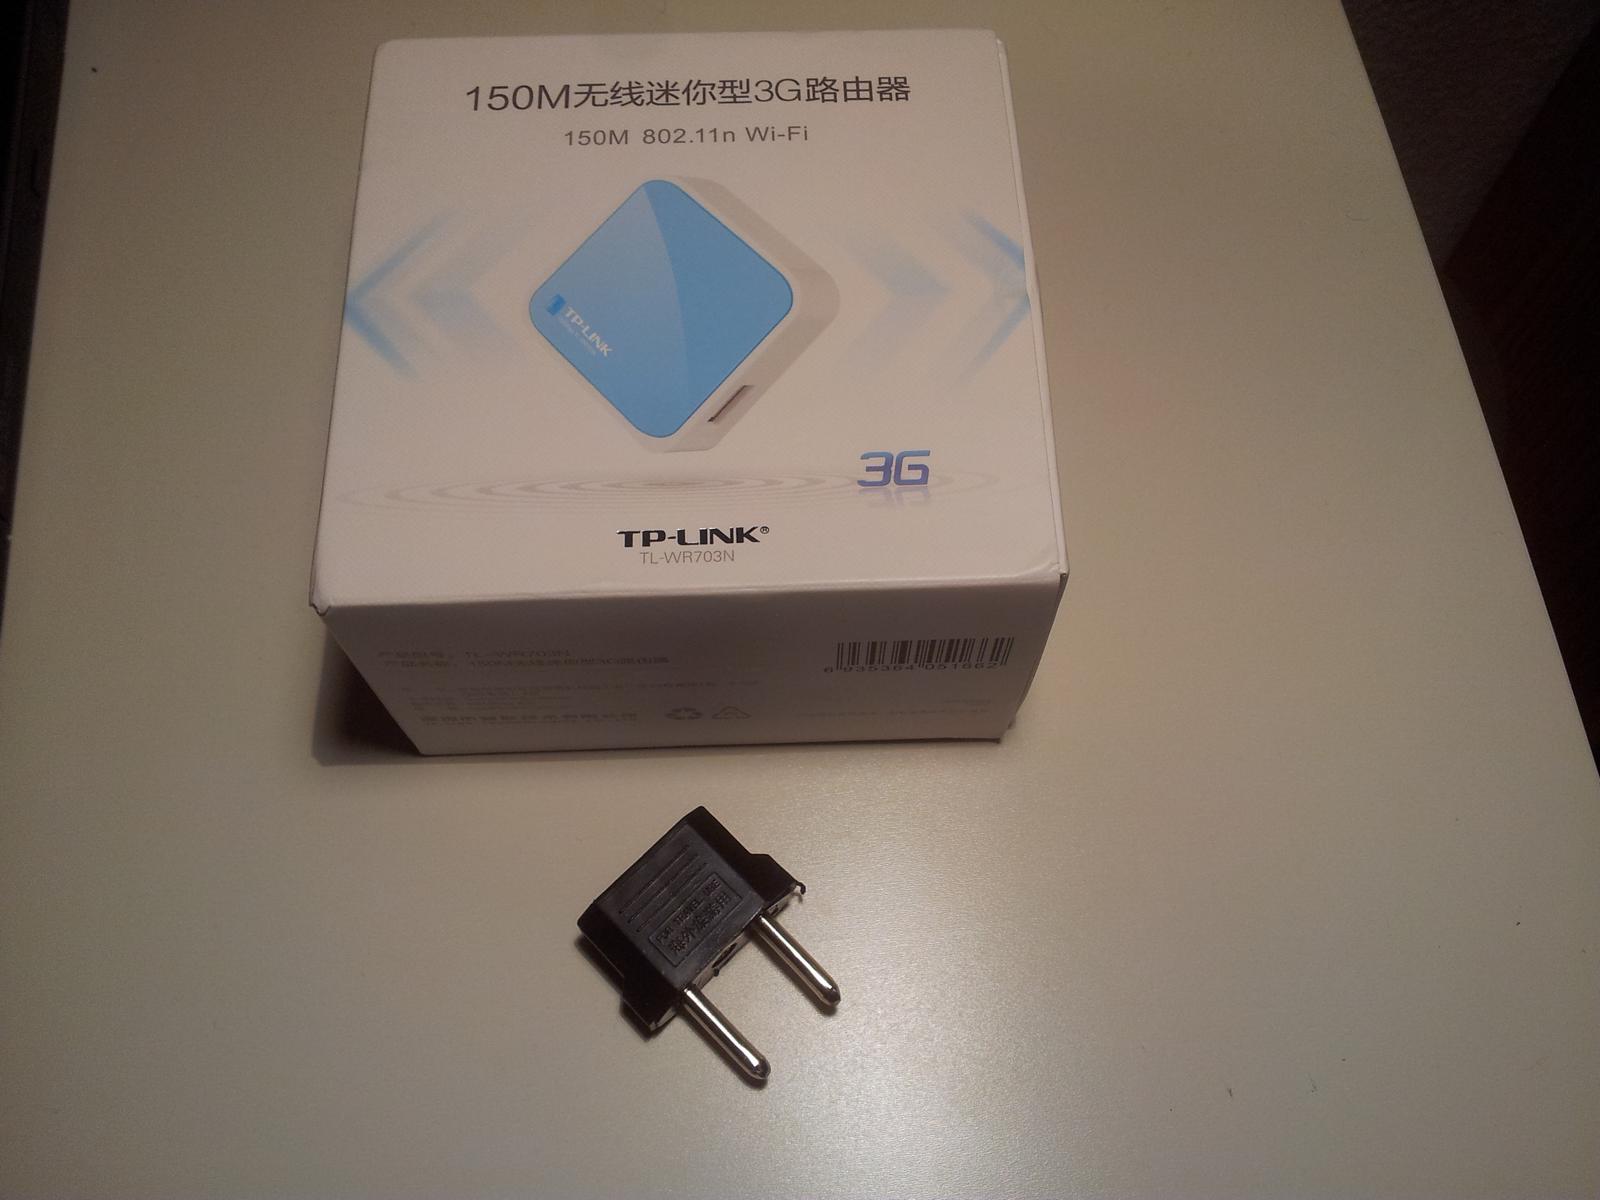
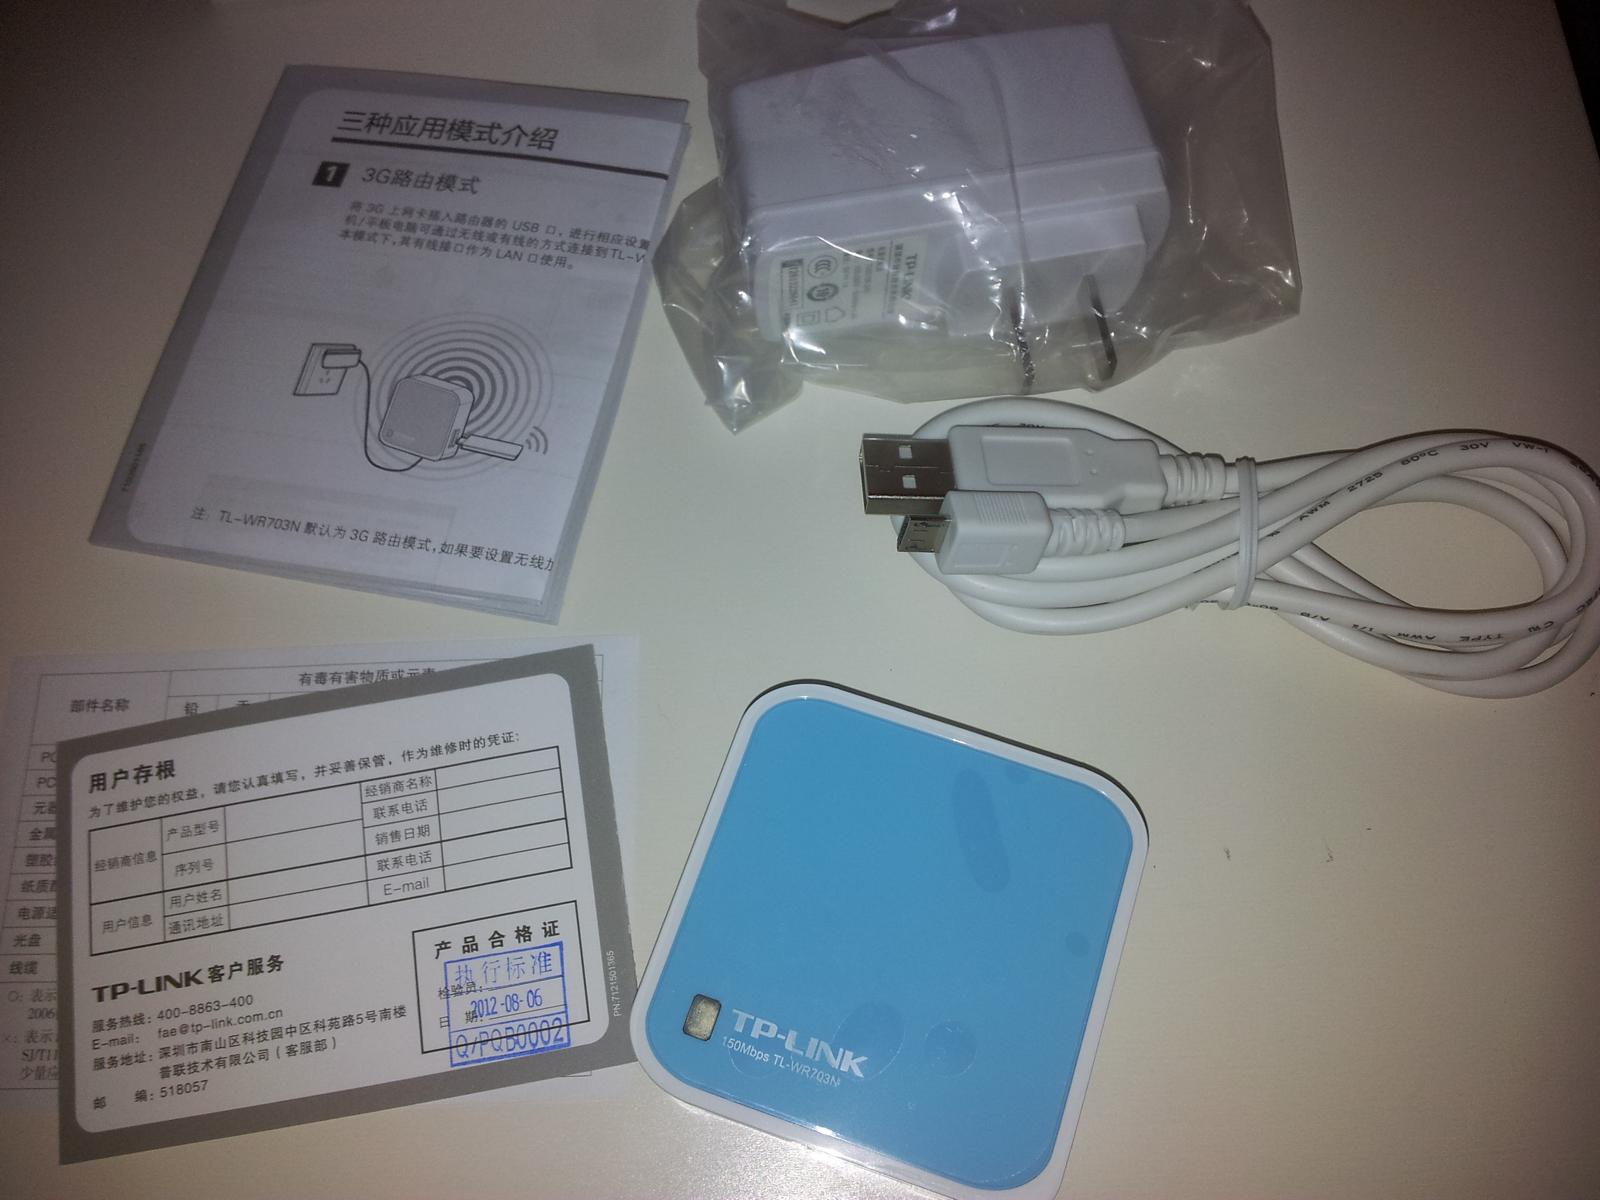
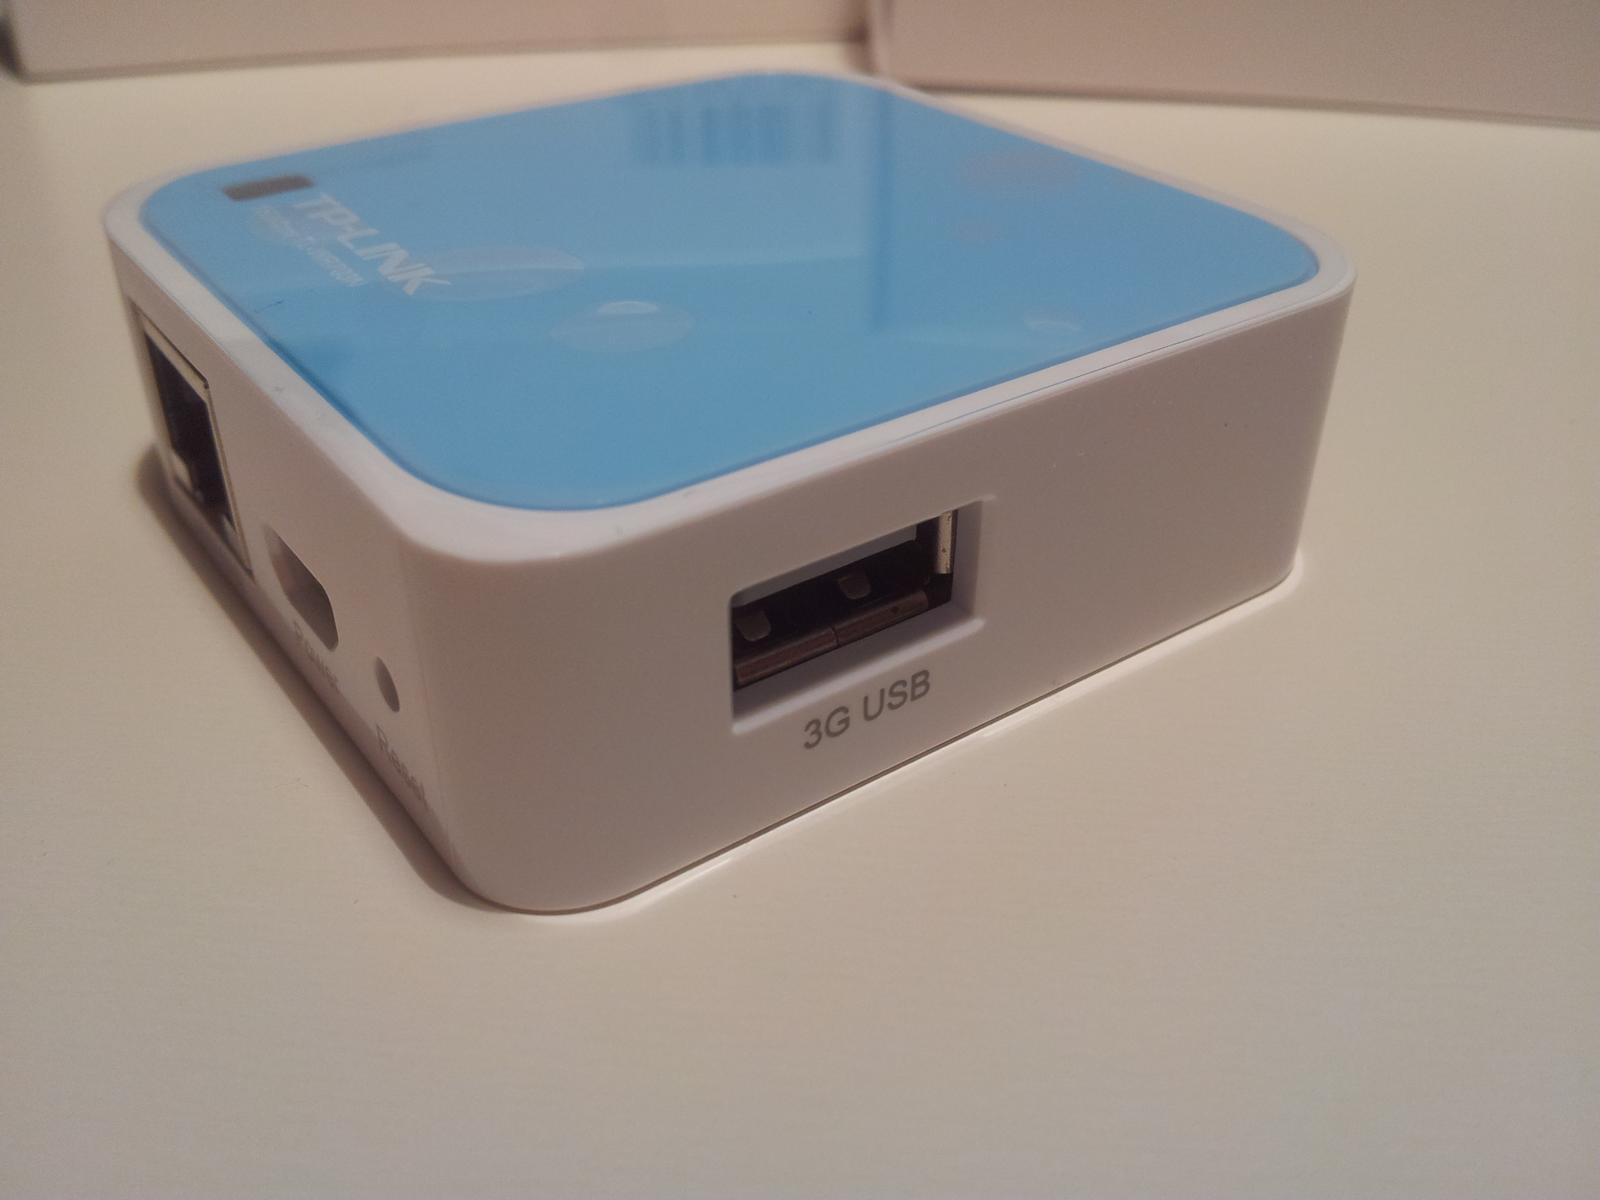
The TP-Link WR703N is a really small router, which can be powered by USB and also can be flashed with OpenWrt.
An unbeatable argument for the TP-Link is in my opinion the price. So I think you will rarely find a new OpenWRT compatible router for less than $20. I bought mine on eBay for ~22$ including shipping, but at the moment the US prices are a little bit lower. I also added some pictures from the unboxing at the end of this blog post.
Where can I buy the TP-Link WR703N?
How to flash OpenWRT to TP-Link WR703N
Before you start you will need the following things:
- Lan cable
- TP-Link WR703N + USB-cable
- OpenWRT firmware (release: attitude_adjustment => 12.09-rc1)
The thing with the firmware is something to be treated with caution. The above-linked image is only suitable for WR703N routers, whose original firmware version 1.6 or less. Those who have caught one of the routers with firmware 1.7, must bite the bullet and compile a custom image, since there is still no precompiled version.
How to compile a OpenWrt image, can be read over here. The OpenWrt sources for the 1.7 firmware routers can be found here. How you can check whether you have one of tricky 1.7 firmware routers, I’ll explain to you in the first step of the following tutorial.
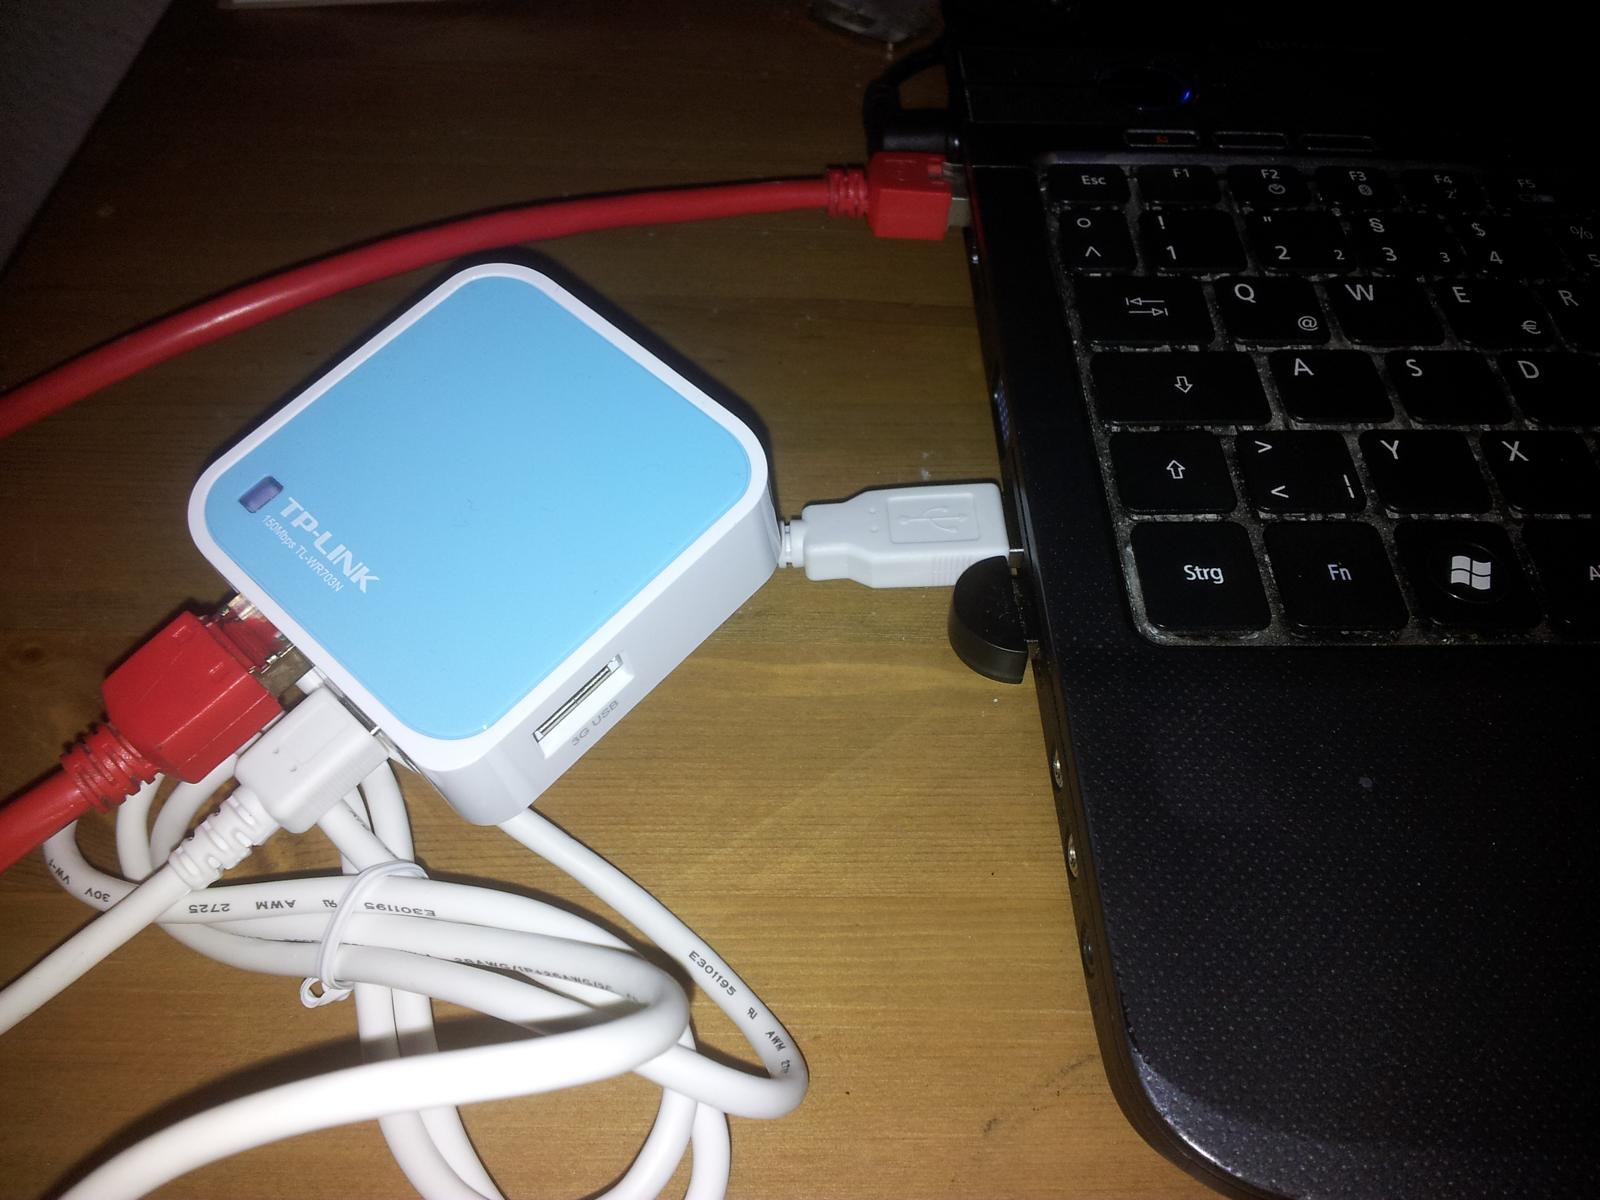
If you have everything together, provide the router with power at first. (Either directly via USB cable to your computer or via the included USB-AC adapter.) Then connect the router via LAN cable to your PC and turn off your existing wireless connections. The setup should look something like this:
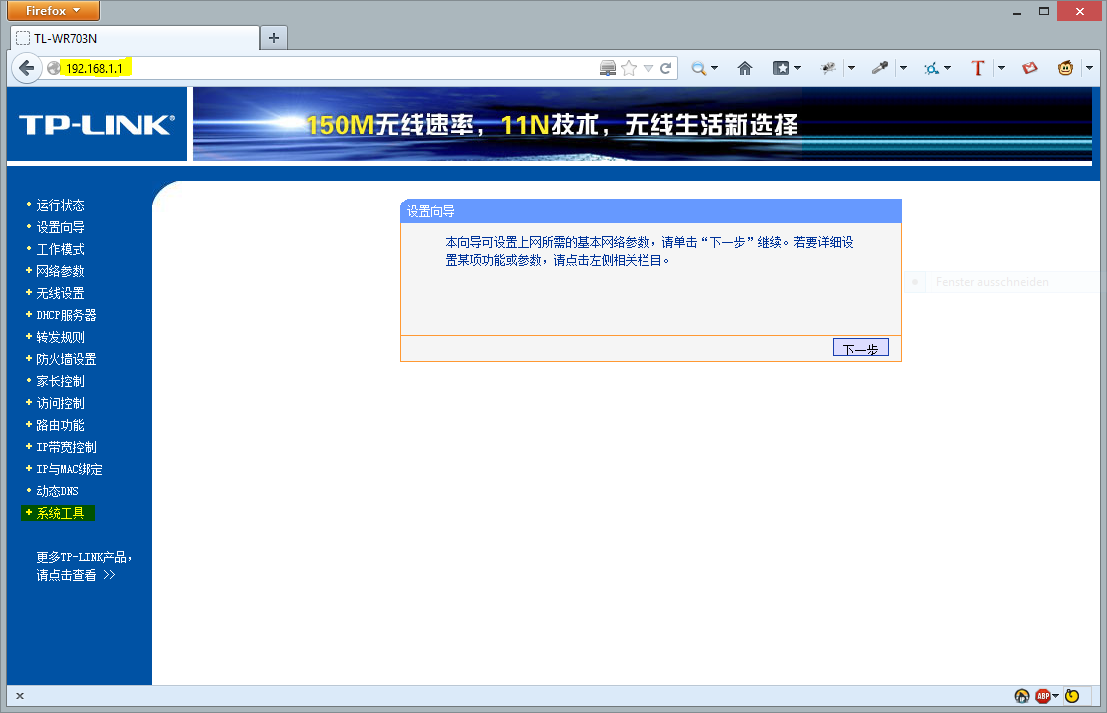
Step 1:
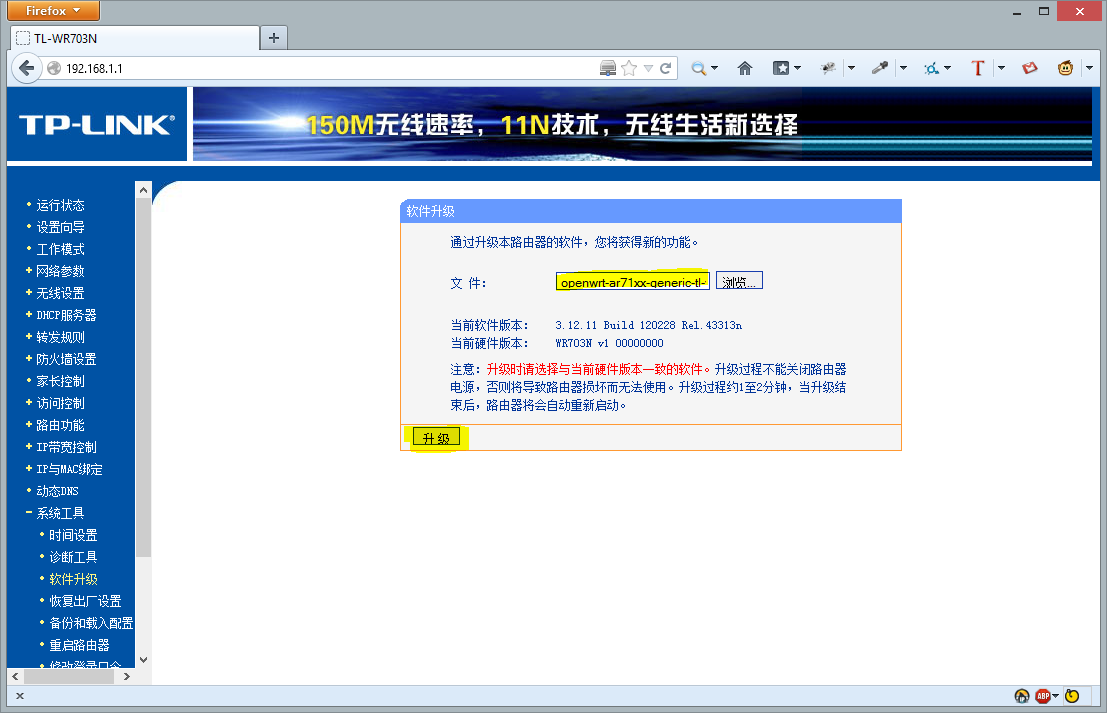
Open a browser of your choice and navigate to http://192.168.1.1 – As you will see, the complete admin interface is unfortunately only available in Chinese. Therefore, I have made you the following screenshots of each step, so that nothing can go wrong.
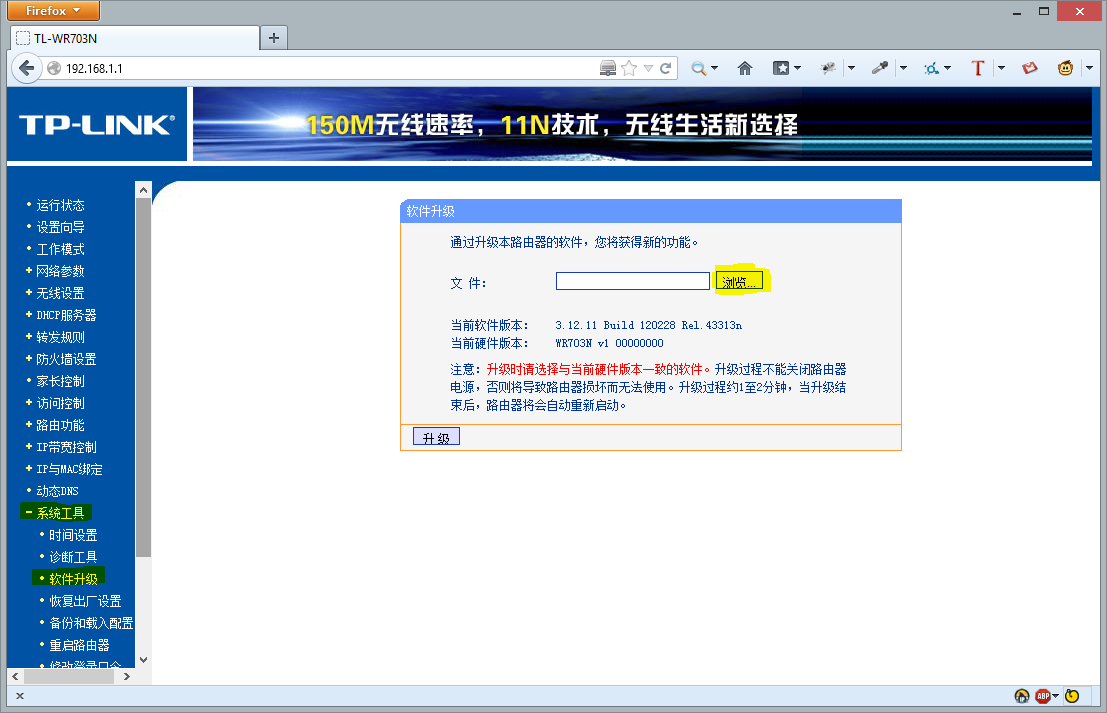
Navigate to the above screen and then select the previously downloaded OpenWRT firmware image.
Important: Before you go, make sure to check at this point, if your router currently runs the 1.7 firmware. If there’s a label “Build 120925” below the firmware image selection box, then you have caught one of the above mentioned routers with firmware 1.7. In this case you shouldn’t use the above-linked firmware image in any case, but you have to compile, as described, a special version of the image itself! Should you still take the above linked image, your router may brick. In this case, you can only restore the router, if you open it and solder a serial interface…
Step 2:
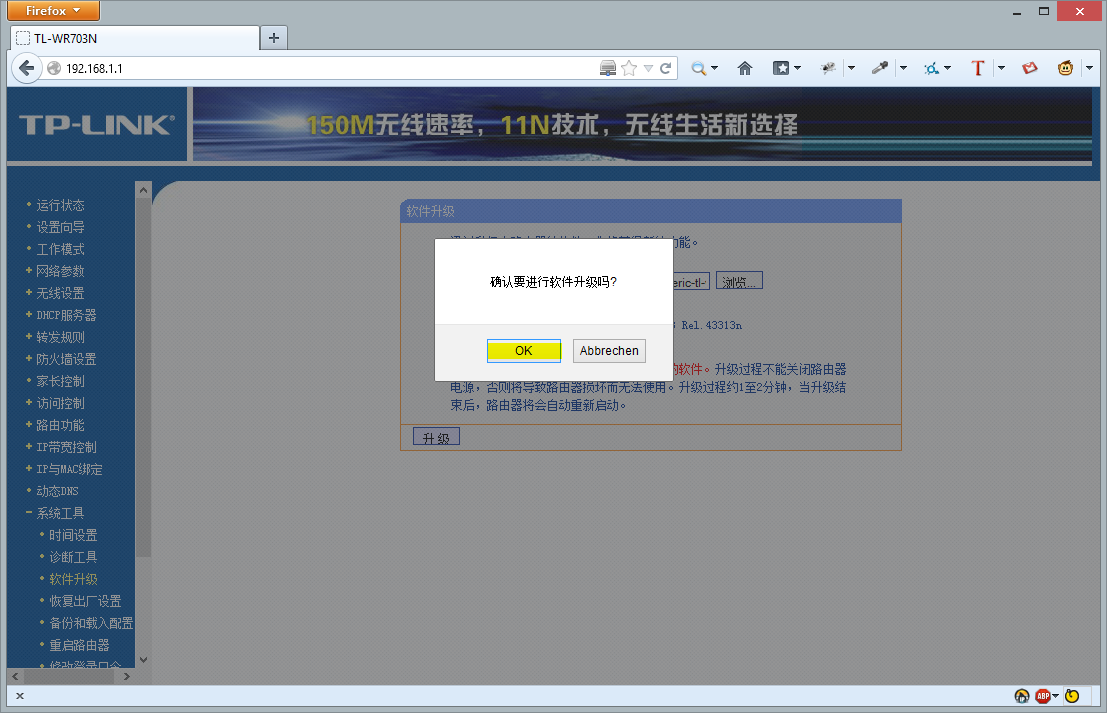
If you got the right firmware, click “upload” and confirms the upload by clicking on “OK”.
Now you should see the flashing process in progress. Do not worry, things can take a few minutes. Anyone who has not the patience, should go and make some coffee…
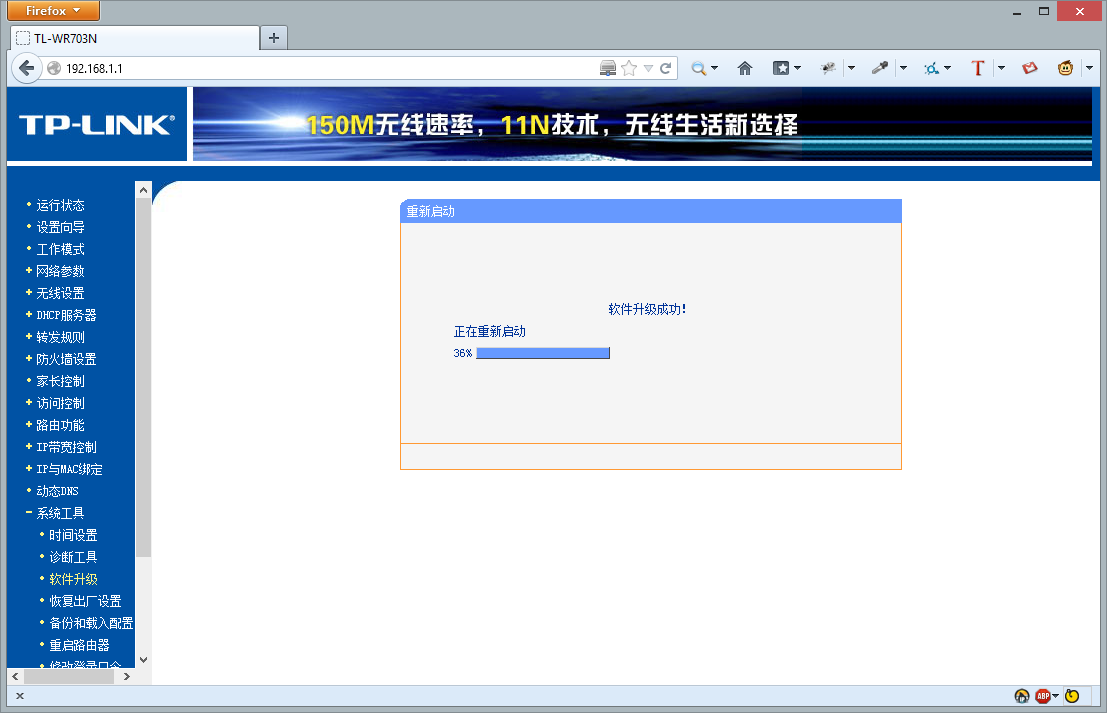
One more advice: Never ever remove either the LAN- or the USB-cable during the flashing-process! When the flashing-process is complete, the router will restart on its own and you should automatically be redirected to the web interface of your new OpenWRT router.
Step 3:
Now we have yet to assign a password . This can be done easily through the web interface.
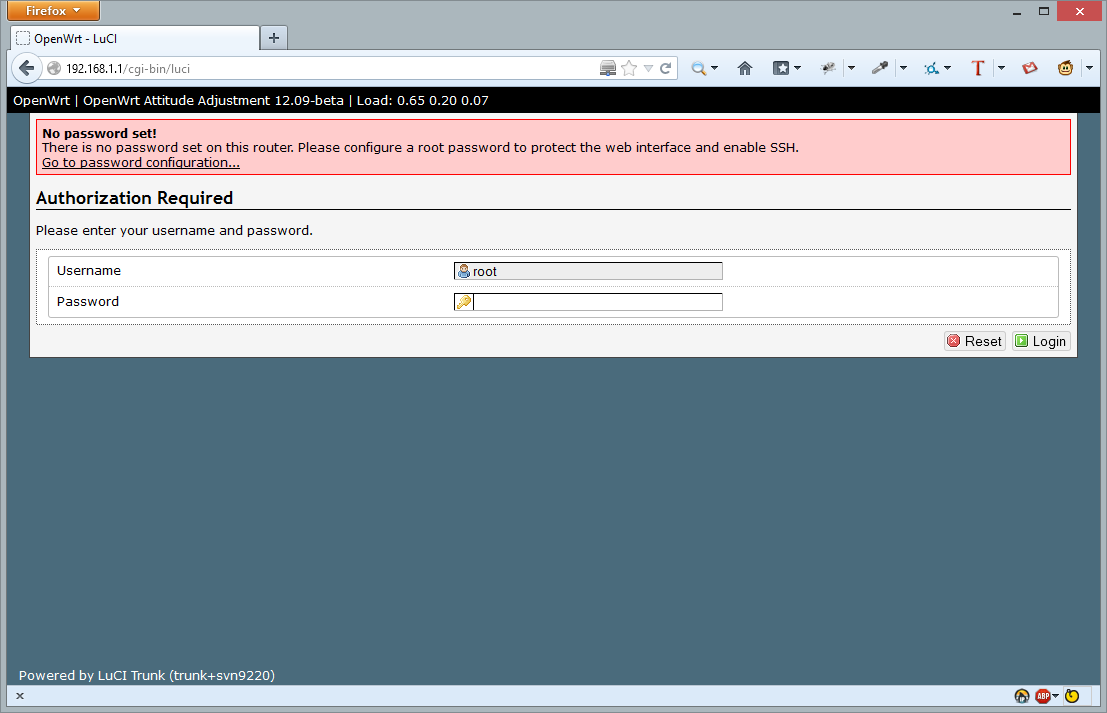

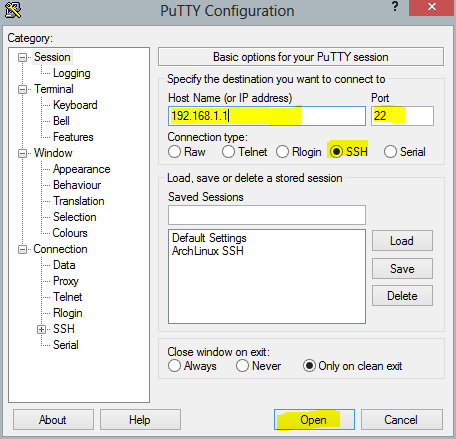
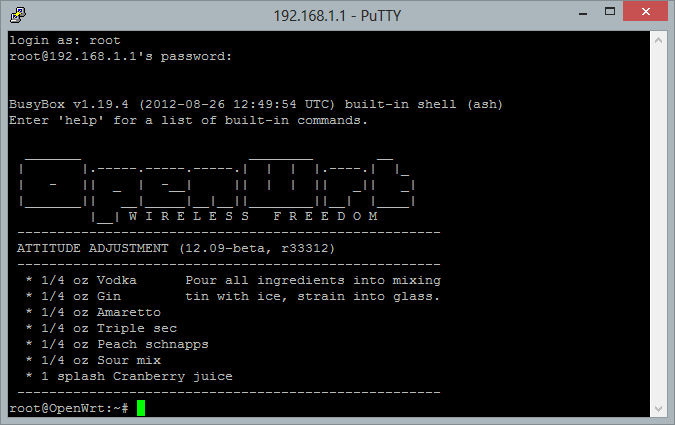
After you’ve set the password, you can access your router also via SSH.
That’s about it. I hope you’ll have much fun with your low-cost OpenWRT router. If you like, leave me a comment and tell me about what for you want to use your new router. I’m always happy to read about creative projects of other hobbyists. My router will serve as a “wireless card” for one of my Arduino projects.
Unboxing


Hi there!
So I had the 1.7 firmware and was lazy, so I downloaded an older firmware version from tp-links homepage, verified that the build version was lower, and then I flashed it.
Worked like a charm. :)
Regards,
Patrik
Hi,
Thanks for this information. I am using this router as a part of my quadcopter build. I wanted to see if it was ok if I repost these instructions as part of my build instructions. I’d also like to link to your instructions.
Thanks,
Clu
If you wan’t you can do a re-write or link to my blog. But please don’t copy the instructions one by one, because Google and I don’t like duplicate content. ;)
Greets and good luck with your quadcopter (looks interesting),
Raffi
Hi, nice review. I was looking for a cheap openwrt router and i found your post, i haven’t understood how to check the firmware before buying one, and it’s only chinese? Can you also post the hardware specify of this router?
Regards. Marco
There’s no real chance to detect which firmware version is installed befor you buy it. There’s a sticker on the ground which tells the firmware version but I’ve heard that there are some models where the sticker tells you that it runs 1.6 but at the end it was running 1.7. You could ask the seller, which version is installed on the router…
Concerning the harddware specs you should open this link and scroll down to the “features section”: http://wiki.openwrt.org/toh/tp-link/tl-wr703n
Greetings,
Raffi