When it comes to secure connections between two computers, SSH (SSH = Secure Shell) is the drug of choice. Thus for example you can remotely control your home- or web-server by an encrypted connection via SSH. How to install the OpenSSH server (software) on Linux (Ubuntu) and establish and secure the connections, is what I want to show to you in the following series of articles.
As an example scenario, we assume that we have a Linux machine which acts as a server and two computers, one with Ubuntu Linux and one running Windows 8, which represent our clients.
OpenSSH server installation
The first step is to download the server software. The SSH client (for connecting the server with another PC/server for example) can be installed as well if needed.
sudo apt-get update
sudo apt-get install openssh-server openssh-client
After the installation of the OpenSSH server you may need to start the service manually. This can be done by means of the following command.
sudo service ssh start
Now the server should run. For a first test we switch to one of the other two (client) machines. Now, in order to connect to the server, we need a SSH client for the respective operating system. Below I will discuss both, on Windows and Linux.
How to make a SSH connection using Putty on Windows
Probably the most popular SSH client for Windows is Putty. Alternatively, however, there is a variant of OpenSSH for Windows, but I’ll get round to that in the next paragraph.
First, of course, Putty itself is required. The download link can be found here. If you prefer a portable version for your USB drive, you will find one over here. Installing Putty itself should be unequivocal.
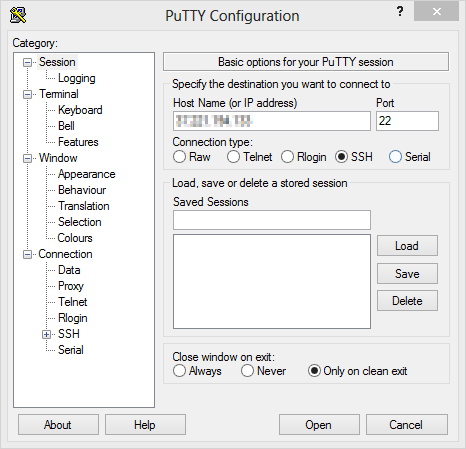
After installation, we start Putty. In the Connection tab, add the IP/hostname of the server and select as connection type ‘SSH’. The preselected port (22) can be left. (Port 22 is the default port for the SSH protocol.) Click on Connect and Putty should establish a connection to your fresh installed OpenSSH server.
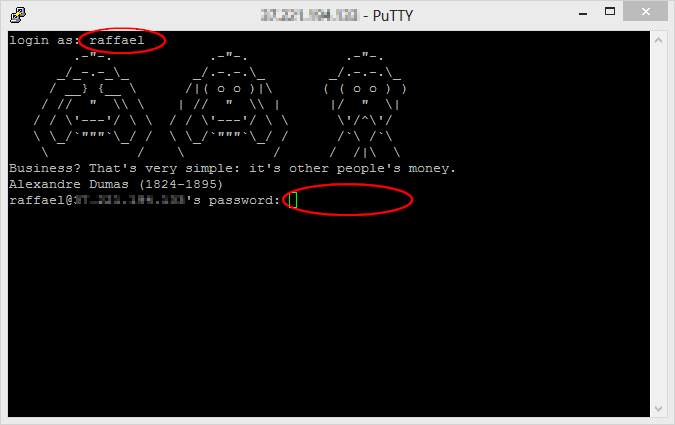
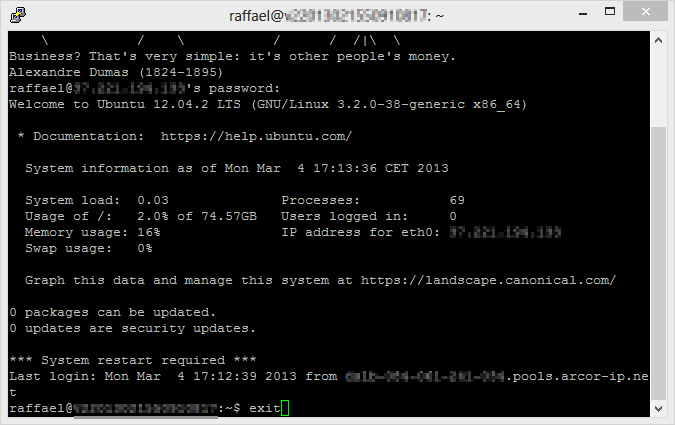
If everything worked correct, the console window will prompt you to enter an username and a password. To test once we log on to the Linux server, by using the credentials of any valid useraccount of the Linux server and then close the connection again using the “exit” command.
How to make a SSH connection using OpenSSH for Windows
OpenSSH for Windows is, contrary to Putty, not available as a portable version. The setup can be downloaded from here (direct link). During the installation you will be asked if you want to install only the client or also the server. For our tutorial the client is enough. If you install the server, but do not want to log on your Windows PC remotely, then the server will only represent an unnecessary “security risk”. (That doesn’t mean that OpenSSH is insecure, but a service which isn’t running can’t be hacked.)
After installation, you open the console (Win+R (“run dialog”)-> “cmd”). To verify that the installation has worked, type in the following command.
ssh -v
You should get information about the installed OpenSSH version now. If the result of the command instead is just pointing out that the “ssh” command isn’t valid, so you must adapt OpenSSH to the environment variable for Windows. This also works directly from the command line.
setx PATH "C:\Program Files (x86)\OpenSSH\bin;%path%"
(Where “C:\Program Files (x86)\OpenSSH\bin” is the path to your OpenSSH installation and should be changed if you installed it into another folder!) After changing the environment variable you have to close the cmd and re-open it. Otherwise the changes won’t be recognized.
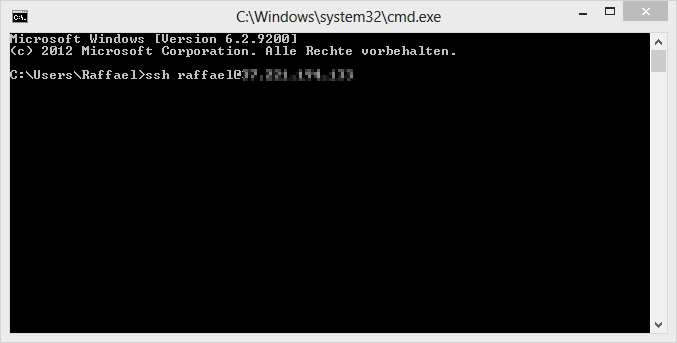
Now we can connect to our Linux server by OpenSSH for Windows. Therefore type in following command.
ssh user@my_ip
“User”, will represent the user name with which you wish to log on to the Linux server. “my_ip” will represent the host name or IP address of the Linux server.
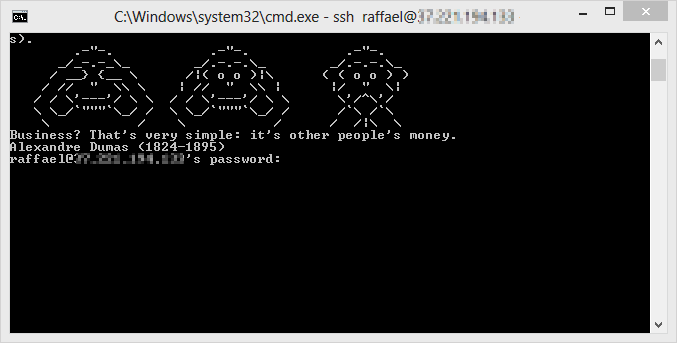
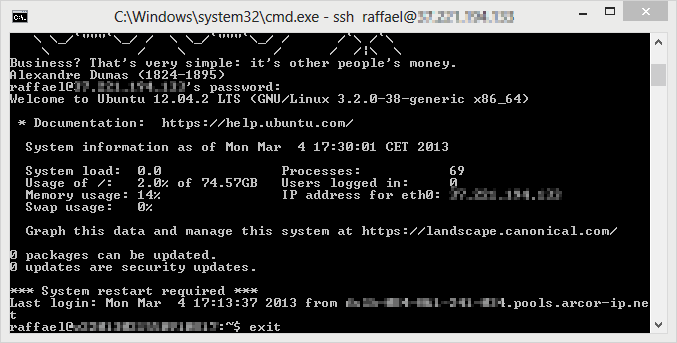
If all went well, you should be prompted for the password (for the before given “user”). Give this one and then, after the successful login, close the connection using the “exit” command.
How to make a SSH connection using OpenSSH for Linux
In most cases, the OpenSSH client is already installed on Linux machines. To test if it’s already installed, we will try to query the installed version number. Therefore we open a terminal/shell and type the following command.
ssh -v
If the OpenSSH client is installed, we should see the version number. If this is not the case, we have to install the OpenSSH client at first before we can continue. In Ubuntu-based Linux distributions this can be done as follows.
sudo apt-get install openssh-client
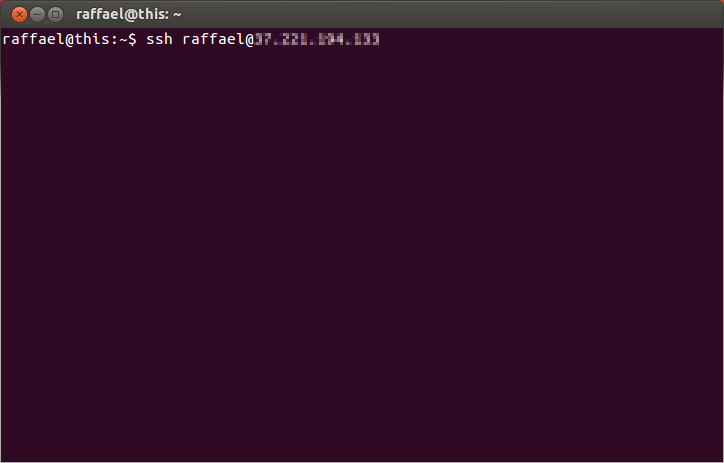
After installation, we can go on. The connection command is the same as the one for OpenSSH version for Windows, which I described earlier in the article already.
ssh user@my_ip
“user” thereby is the username with which you wish you log on to the Linux server. “my_ip” you have to replace again with the hostname or IP address of the Linux server.
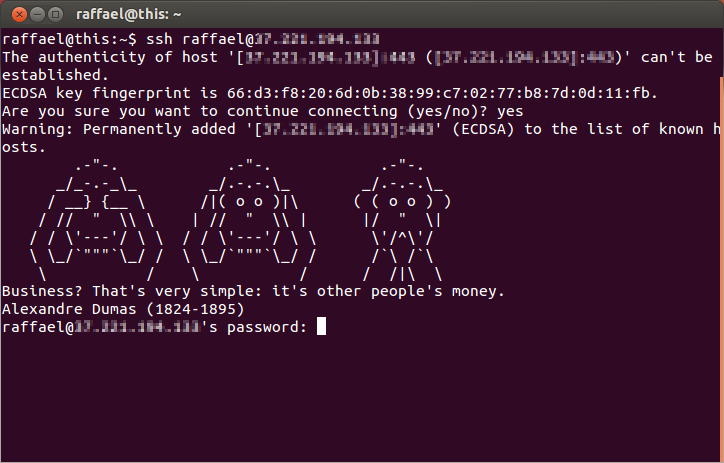
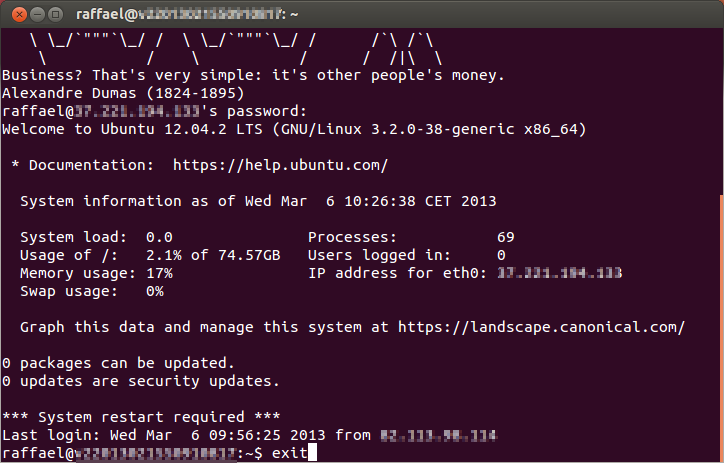
Again – if all went well, you should be connected with your Linux server and asked for the password for the given “user” on the Linux server. If you successfully logged in yourself, you can close the connection with the “exit” command.
Conclusion
That was the first part of the article series on OpenSSH. We should have a running OpenSSH server and be able to connect us to it using a Windows computer as also a Linux computer. The next article deals with the basic protection of the OpenSSH server. In the third part I’ll describe how a login using keyfiles can be done.