Today we say goodbye to my UPS. My old APC Back-UPS 700 gave up after a little over six years with a continuous beep. Since my homelab had grown in the meantime, the replacement needed a larger battery and more output power in watts.
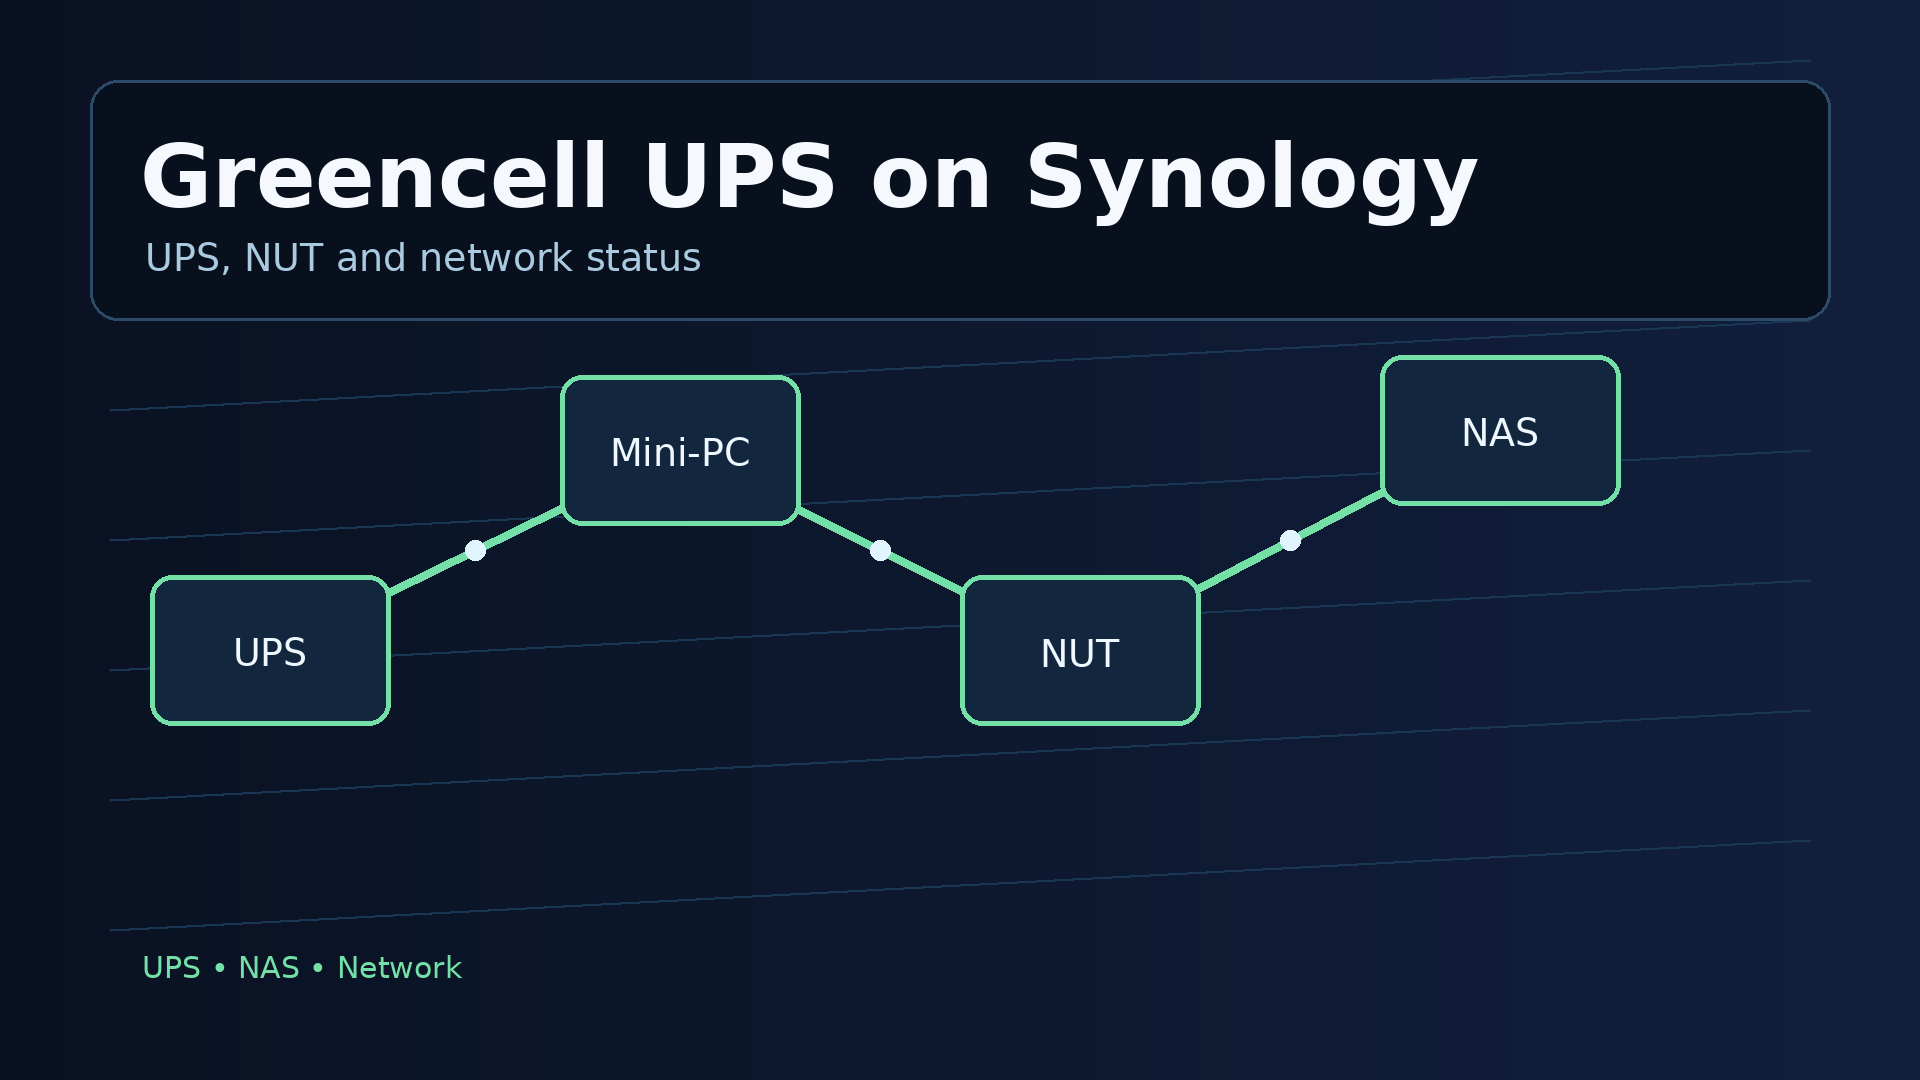
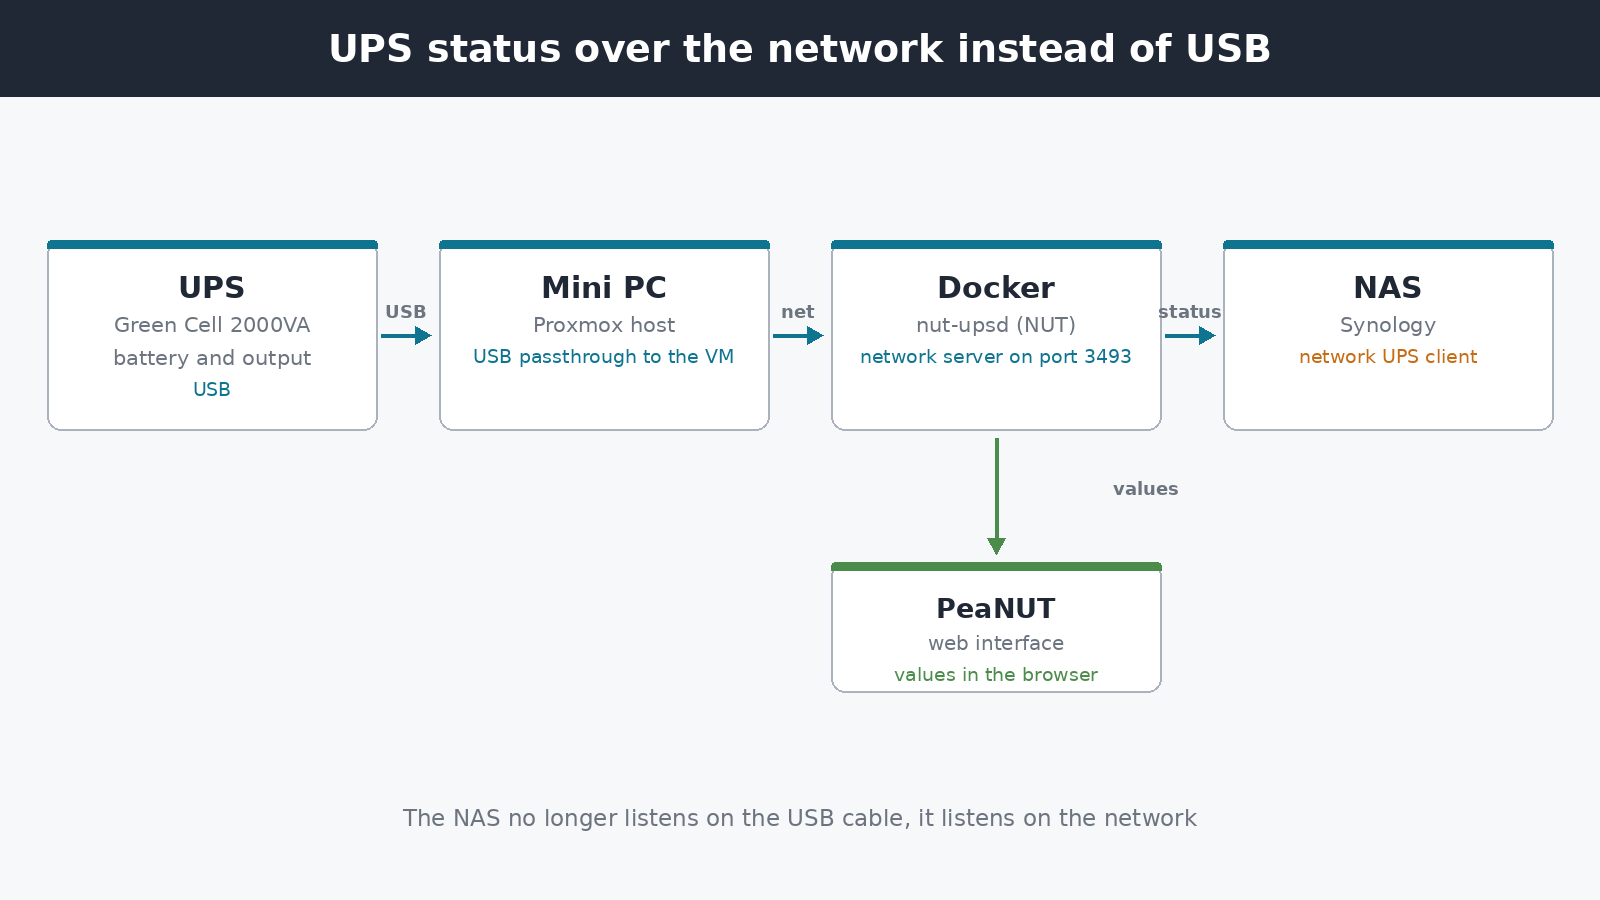
This article shows how I connected the new Green Cell USV 2000VA, 1200W, manufacturer model UPS05, to my NAS despite an awkward compatibility problem. The NAS detects the UPS, but Synology reads almost no useful values from it. The workaround is to move the USB connection to a mini PC, let a NUT server in a Docker container read the device, and expose the status over the network.
Once the steps are done, the NAS knows the state of the UPS again and can shut down in time. PeaNUT gives you a quick look at the values if you want them, through PeaNUT.
Why the new UPS provides almost nothing to the NAS
The old UPS was detected directly by the NAS and supplied the information I expected. The new Green Cell USV 2000VA is a different story: the device is detected, but Synology reads almost no values from it. Okay, it is also missing from Synology’s UPS compatibility list.
Detected does not mean supported here. The USB connection exists, but the data clearly do not arrive in the form Synology expects. For an orderly shutdown that is probably not enough, because without values the NAS cannot tell how much charge is left.
The network detour
Instead of connecting the UPS directly to the NAS, I connect it to one of the mini PCs in my homelab. I pass the USB port through to the Ubuntu VM in Proxmox, where I will run the nut-upsd Docker container. Under Datacenter, Node, VM, Hardware, Add, USB-Device, I select the UPS with Use USB Vendor/Device ID. That keeps the mapping stable if the UPS later moves to another USB port.
The VM runs Network UPS Tools, or NUT, in a container. Its driver reads the UPS over USB, while the daemon exposes the status over the network. Synology then reads the UPS values over the network. The NAS then connects to a NUT server instead of trying to interpret the USB device itself.
Setting up the container
I use the instantlinux/nut-upsd Docker image as the starting point. This is the Compose structure that works with the driver:
services:
  nut-upsd:
    container_name: nut-upsd
    image: instantlinux/nut-upsd
    environment:
      - TZ=${TZ:-Europe/Berlin}
      - "API_USER=admin"
      - "API_PASSWORD=<passwort-admin>"
      - "DESCRIPTION=Greencell Micropower 2000"
      - "DRIVER=blazer_usb"
      - "GROUP=nut"
      - "NAME=ups"
      - "PORT=auto"
      - "SECRET=<secret>"
      - "VENDORID=0001"
      - "PRODUCTID=0000"
    devices:
      - /dev/bus/usb:/dev/bus/usb
    volumes:
      - "./nut:/etc/nut"
    privileged: true
    restart: always
    ports:
      - "3493:3493"
Then I start the container once with:
docker compose up -d
The configuration is stored in ./nut on the host. I adjust upsd.users there. Next to the daemon admin account, I enter the account Synology expects:
[admin]
    password = <passwort-admin>
    upsmon primary

[monuser]
    password = secret
    upsmon slave
Synology does not provide a field for custom credentials in DSM. When connecting, Synology uses the user monuser and the password secret. That is Synology’s fixed requirement, not a secret from my own setup.
The UPS also needs to be defined as ups in ups.conf:
[ups]
  driver = blazer_usb
  port = auto
  desc = "Greencell Micropower 2000"
  vendorid = 0001
  default.battery.voltage.low = 20.8
  default.battery.voltage.high = 27.0
  default.battery.voltage.nominal = 24
  runtimecal = 300,100,720,50
The group/device must be named ups, otherwise Synology does not find the UPS. The four numbers in runtimecal and the three voltage values belong to the 2000VA model. They need to be adjusted for a smaller or larger model.
runtimecal = value,value,value,valueParameter used in the (optional) runtime estimation. This takes two runtimes at different loads. Typically, this uses the runtime at full load and the runtime at half load. For instance, if your UPS has a rated runtime of 240 seconds at full load and 720 seconds at half load, you would enter
runtimecal = 240,100,720,50Source: NUT manual on blazer_usb
After changing the files, I restart the container so the configuration takes effect. The network service listens on port 3493.
Configuring the NAS as a network UPS client
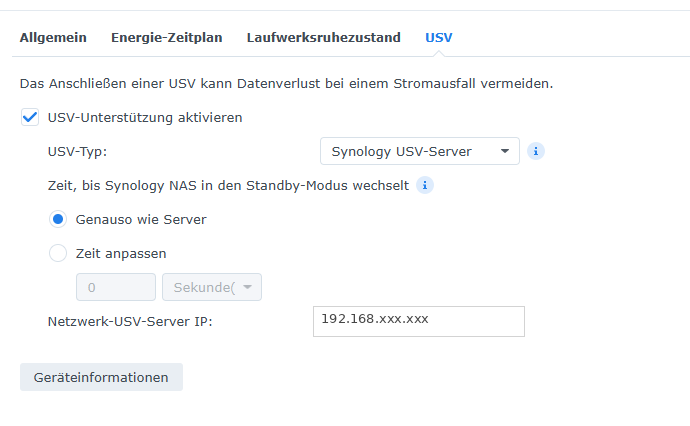
In DSM, I open Control Panel, Hardware and Power, UPS. As the UPS type, I select Synology UPS server and enter the IP address of the machine running the container.
What I tried first
I originally wanted to use Nutify. It refused to load the NUT driver in my setup. With the same driver settings, nut-upsd worked immediately. In the end the tool that won was the one that started without an argument.
For viewing the values, I use PeaNUT. A quick look at the status is enough to justify opening a web page rather than a terminal.
Conclusion
The new UPS did not need to go back, just because the NAS could barely read anything from the direct USB connection. With USB passthrough to the VM, NUT in a container, and the NAS acting as a network client, the responsibilities are nicely separated: the mini PC talks to the UPS, and the NAS receives the status over the network.
The details matter: map the USB device by vendor and device ID, use the name ups, account for Synology’s fixed credentials, and adjust the voltage and runtime values for the actual model. Once those pieces are in place, you no longer have to listen for a beep to know how the UPS is doing.